

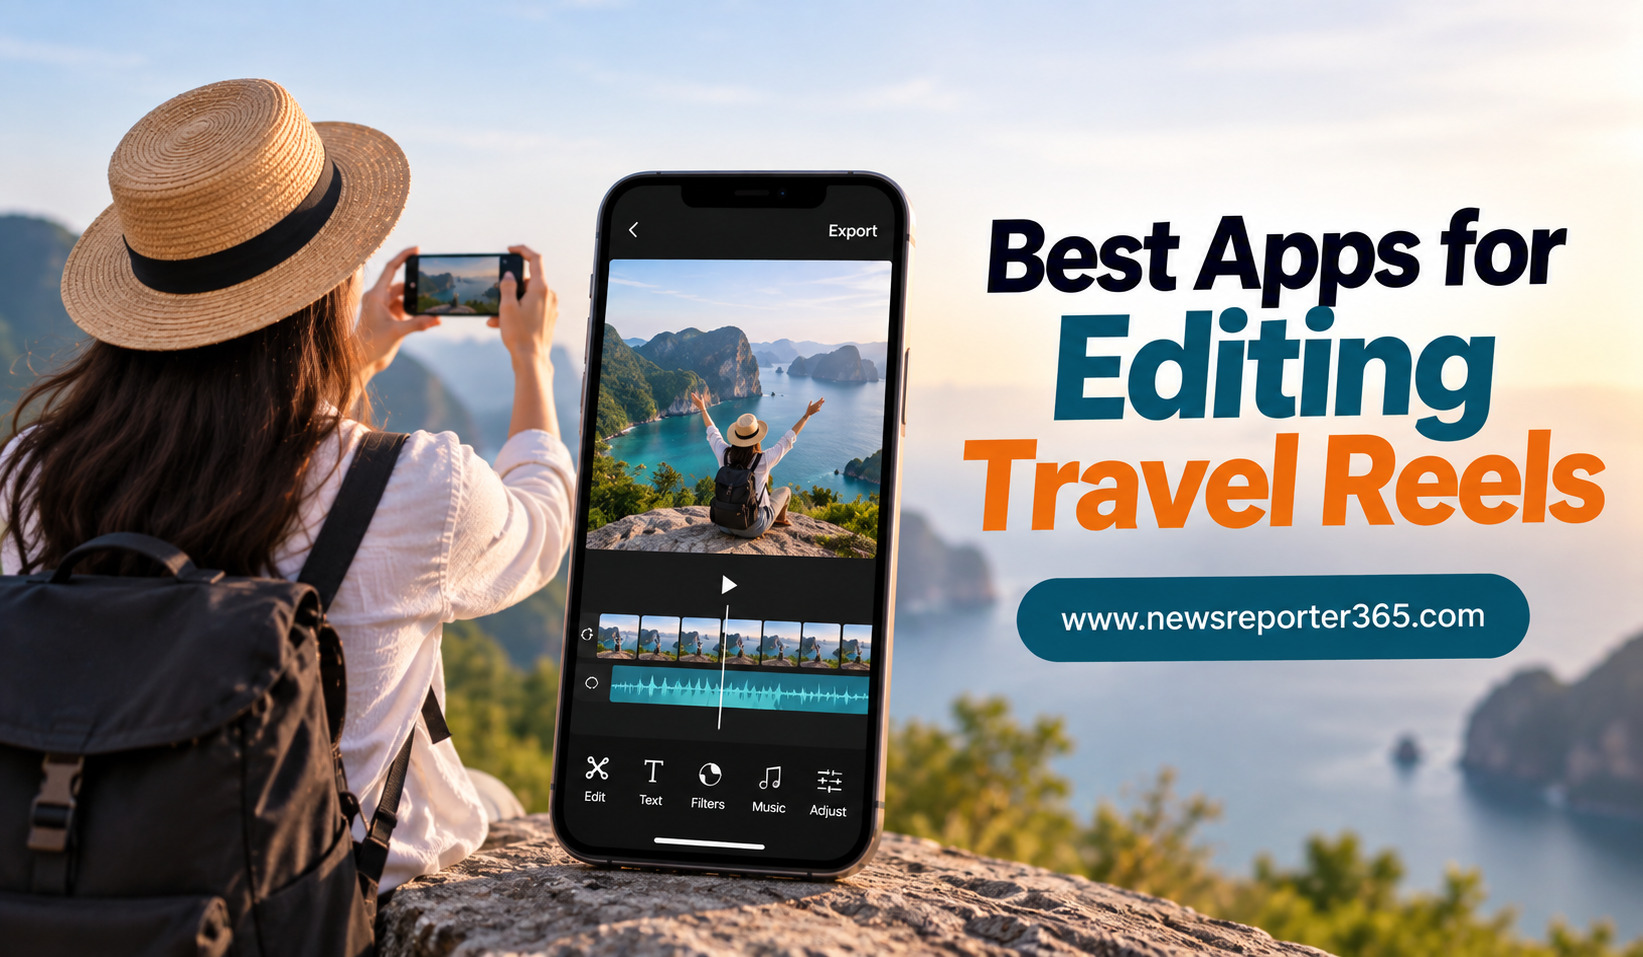
Travel Reels are one of the best ways to turn holiday memories into engaging visual stories. A beautiful destination can provide great footage, but good editing is what turns individual clips into a Reel that people want to watch until the end. From airport moments and scenic landscapes to local food and exciting activities, the right editing app can help you bring an entire trip together in a short video.
Today, creators have access to mobile editors that offer everything from simple trimming to advanced color adjustments, music synchronization, transitions, captions, speed controls, and AI-powered features. This makes it possible to create professional-looking travel Reels directly from a smartphone without needing complicated desktop software.
What Makes a Good Travel Reel Editing App?
Travel videos usually contain a mixture of different footage. You might have wide landscape shots, handheld walking clips, food videos, selfies, action scenes, and short recordings of local experiences. A good editing app should make it easy to combine all of these different types of footage into one smooth story.
For travel creators, flexibility is particularly important. You may want quick editing while sitting in an airport or more detailed editing after returning home. Features such as vertical video support, music tools, speed control, transitions, filters, captions, and high-quality exports can make a significant difference.
The best apps also make it easy to maintain the visual mood of your trip. Warm colors can enhance a beach destination, while cooler tones may work better for mountains or city footage. Even simple adjustments can make multiple clips feel like part of the same story.
Best Apps for Editing Travel Reels
1. CapCut
CapCut is a popular choice for short-form video creators because it combines a relatively simple workflow with a wide range of editing features. It is useful for travel Reels that rely on quick cuts, music synchronization, transitions, text animations, and visual effects.
Travel creators can combine multiple clips, adjust their speed, add music, apply filters, and create dynamic transitions without building everything manually. Templates can also help when you want to create a fast Reel based on a particular editing style.
Its combination of beginner-friendly tools and more advanced controls makes it useful for both casual travelers and regular content creators.
2. VN Video Editor
VN Video Editor is a strong option for travelers who want more control over their edits without dealing with an overly complicated interface. Its timeline-based approach allows you to arrange video and audio layers with precision.
It is particularly useful when creating cinematic travel Reels where clip timing matters. You can slow down a waterfall shot, speed up a walking sequence, layer music underneath natural sounds, and adjust individual clips to create a smoother story.
VN is also a good choice if you want to move beyond simple templates and learn more about manual video editing.
3. InShot
InShot is designed for creators who want to edit videos quickly. Its simple interface makes it easy to trim clips, add music, insert text, apply filters, and adjust the canvas for vertical social media videos.
For travelers who frequently post short updates during a trip, InShot can be particularly convenient. You can select your best clips, arrange them, add a soundtrack, and export a Reel without spending a long time learning complicated editing tools.
It works especially well for casual travel montages, food videos, hotel tours, sightseeing clips, and daily travel updates.
4. Instagram Edits
Instagram’s dedicated editing experience is useful for creators who want a workflow closely connected to Instagram. It is particularly convenient when your main goal is to create Reels rather than longer travel films.
Travel creators can use it for basic editing, music, text, effects, and other social-focused elements. The advantage is simplicity: you can keep your editing and publishing process centered around the platform where the final Reel will appear.
It is a practical choice for creators who do not need extensive timeline editing or advanced post-production.
5. LumaFusion
LumaFusion is designed for creators who want professional-style editing on mobile devices and tablets. It provides more detailed timeline control than many quick Reel editors, making it suitable for travelers who want cinematic results.
It can handle multiple video and audio tracks, detailed adjustments, keyframes, and more advanced editing workflows. This makes it useful if your travel content extends beyond short Reels into longer videos or travel films.
There is a learning curve, but creators who want greater control over their footage may find the additional features worthwhile.
6. Canva
Canva is particularly useful when your travel Reel includes graphics, text, maps, animated titles, promotional elements, or a strong visual identity. Its template-driven approach makes it easy to combine video with design elements.
Travel influencers can use Canva to create destination guides, hotel promotions, travel tips, packing videos, or itinerary-based Reels. Businesses in the travel industry can also maintain consistent branding across their content.
It is less focused on detailed cinematic editing than dedicated video editors, but it is excellent when design and branding are important.
Best Travel Reel Editing Apps Compared
| App | Best For | Main Strength | Skill Level |
| CapCut | Trendy travel Reels | Effects and fast editing | Beginner to Advanced |
| VN | Cinematic mobile edits | Timeline control | Beginner to Advanced |
| InShot | Quick travel videos | Simple editing | Beginner |
| Instagram Edits | Instagram-first creators | Social workflow | Beginner |
| LumaFusion | Detailed travel films | Advanced mobile editing | Intermediate to Advanced |
| Canva | Travel guides and branded Reels | Design and templates | Beginner |
How to Choose the Right App for Travel Reels
The best app depends on how you record and publish your travel content. If you want to create quick Reels while traveling, a simple mobile editor can save considerable time. If you shoot high-quality footage and want to create cinematic sequences, a more advanced timeline editor may be worth learning.
You should also consider the type of travel content you create. A food-focused creator may need quick cuts and captions, while a landscape photographer may care more about color adjustments and smooth transitions. Someone creating travel guides may benefit more from text and graphic tools.
Before choosing an app, pay attention to:
- Ease of use: A simple interface is valuable when editing on the go.
- Video quality: Look for suitable resolution and frame-rate export options.
- Creative controls: Speed changes, color adjustments, transitions, and audio tools can improve travel footage.
- Social features: Vertical formats, captions, templates, and easy sharing are useful for regular Reel creators.
Tips for Making Better Travel Reels
Good travel editing starts with good footage. Instead of adding every clip from your trip, select moments that help tell a story. A Reel becomes more interesting when each shot has a purpose.
Start with an attention-grabbing scene. This could be a stunning landscape, a busy street, an unusual local dish, or an exciting activity. Follow it with clips that provide context and variety.
Keep your pacing dynamic. Combine wide establishing shots with closer details and movement. For example, a Reel about a beach destination could move from a landscape shot to waves, food, walking footage, and a sunset.
Music can also influence the entire mood of a travel Reel. Match the soundtrack to the destination and pace of your footage rather than choosing a song simply because it is popular.
Common Travel Reel Editing Mistakes
One common mistake is trying to include too much footage. A long collection of similar landscape shots can quickly become repetitive. Choose the strongest moments instead.
Another problem is using excessive transitions. Travel footage already contains plenty of visual variety, so simple cuts are often more effective than complicated effects.
Poor audio can also reduce the quality of an otherwise beautiful Reel. Balance music with natural sounds such as waves, markets, street performers, or local conversations when they contribute to the atmosphere.
Finally, avoid making every clip heavily filtered. Consistent, natural color adjustments usually look better than applying dramatic effects to every scene.
A Simple Workflow for Editing Travel Reels
Start by collecting the best clips from your trip and removing footage that is blurry, repetitive, or unnecessary. Arrange the remaining clips according to a simple story, such as arrival, exploration, food, activities, and a final memorable scene.
Next, trim clips to match the rhythm of your chosen music. Add text only where it provides useful information, such as a destination name, location, price, or travel tip.
After completing the edit, review the entire Reel before exporting. Check the captions, audio levels, transitions, framing, and overall pacing. A final review can often reveal small problems that are difficult to notice while editing individual clips.
FAQs
1. What is the best app for editing travel Reels?
CapCut, VN, and InShot are strong choices for most travel creators. VN is especially useful when you want more timeline control, while InShot is convenient for quick edits.
2. Can I edit travel Reels completely on my phone?
Yes. Modern mobile editors provide enough tools to create polished travel Reels directly on a smartphone. You can trim footage, adjust colors, add music, create captions, and export the final video without using a computer.
3. Which app is best for cinematic travel Reels?
LumaFusion and VN are strong options for creators who want more detailed control. They allow greater control over timing, layers, audio, and visual adjustments than simpler editing apps.
4. What video format should I use for travel Reels?
A vertical 9:16 format is the standard choice for Instagram Reels. Shooting and editing with the vertical frame in mind helps your travel footage fill the screen without unnecessary cropping.
5. How long should a travel Reel be?
There is no single ideal length. A good travel Reel should be long enough to tell its story but short enough to maintain attention. Remove repetitive clips and focus on the most interesting moments rather than trying to include the entire trip.
Conclusion
The right editing app can make travel Reel creation faster, easier, and more creative. CapCut is useful for effects and fast social editing, VN provides strong timeline control, InShot focuses on simplicity, Instagram Edits offers a social-first workflow, LumaFusion delivers advanced mobile editing, and Canva works especially well for design-heavy travel content.
The most important thing is not choosing the app with the most features. Choose one that matches your travel content, editing experience, and publishing routine. With strong footage, thoughtful pacing, suitable music, and clean editing, even a short Reel can turn a collection of holiday clips into an engaging travel story.